Porcelain Veneers
Veneers are the most unforgiving work in the lab - one tooth in a smile has nowhere to hide. This page is about the part that decides success: what you send us, and how we replicate what your patient's smile actually looks like.
What we offer & who it is for
Our veneer work is produced by dedicated ceramic technicians who handle anterior aesthetic cases daily - for practices running single-unit matches and for laboratories outsourcing smile-makeover cases under white label.
Work from this line
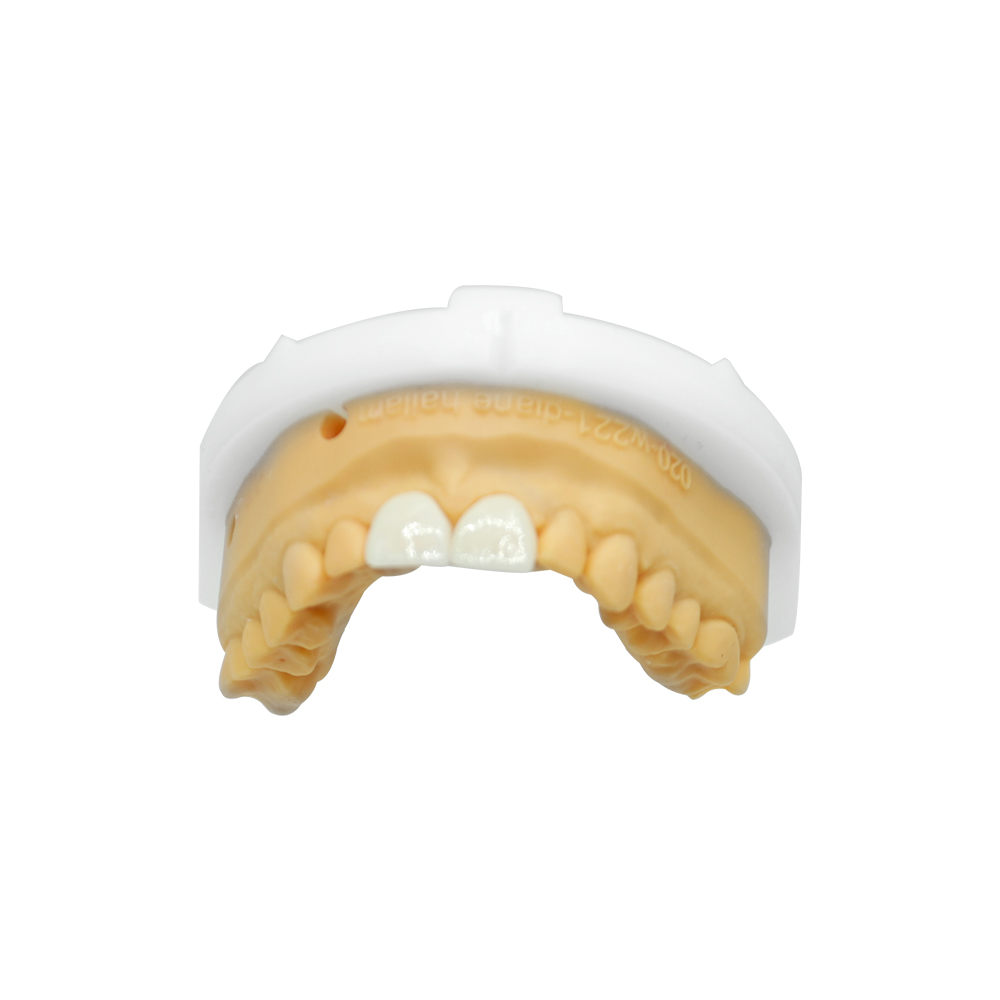
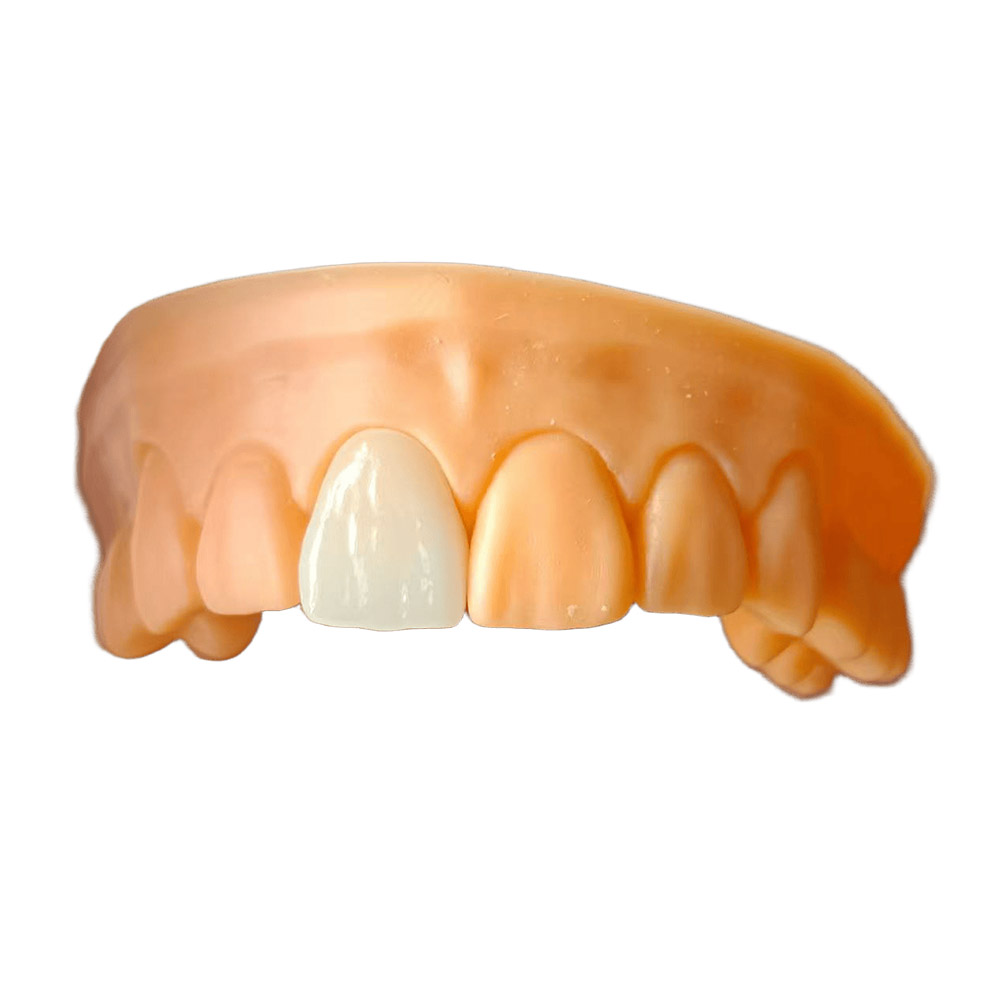
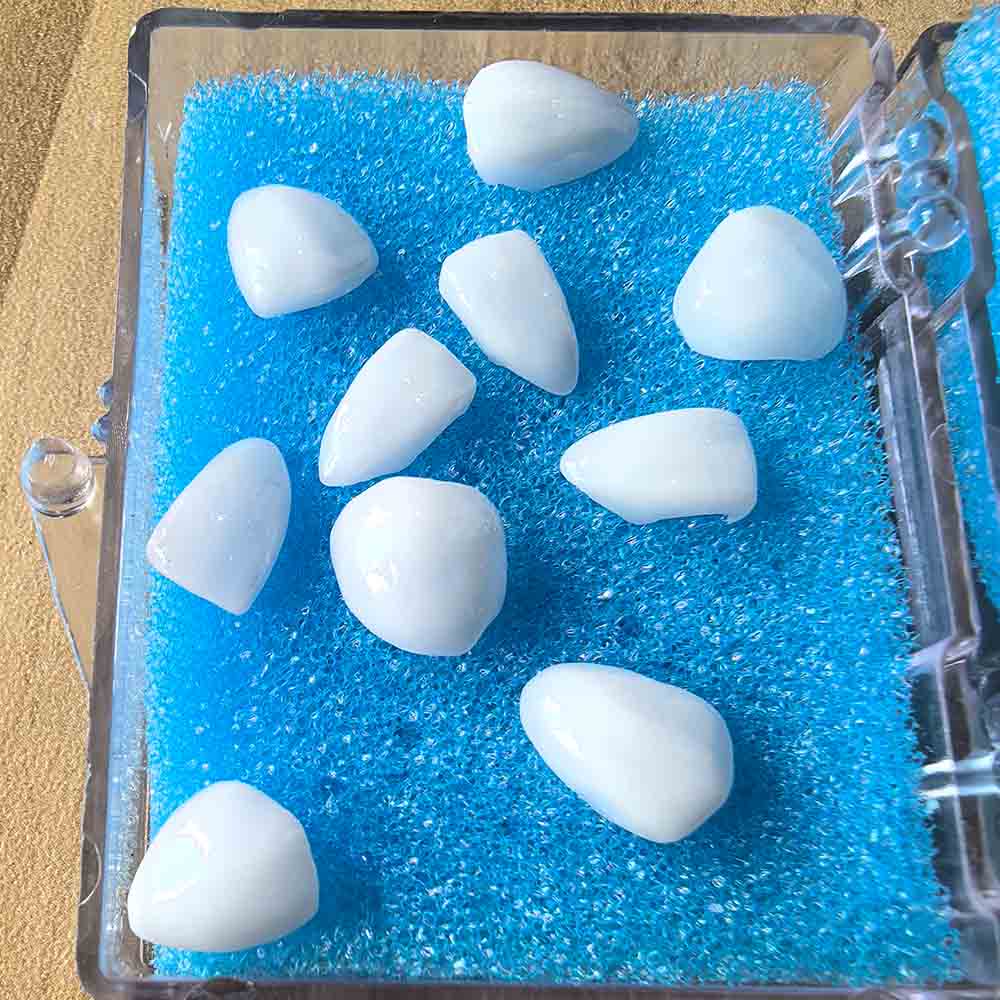
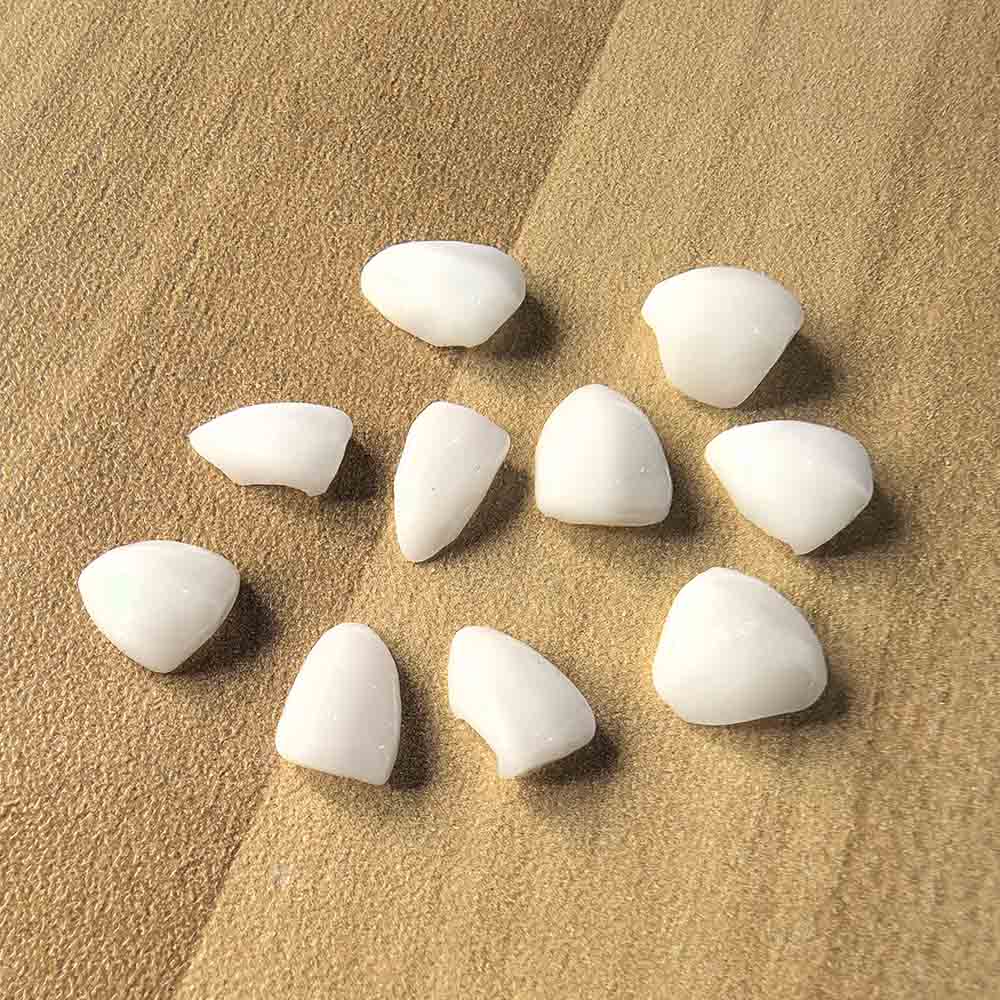
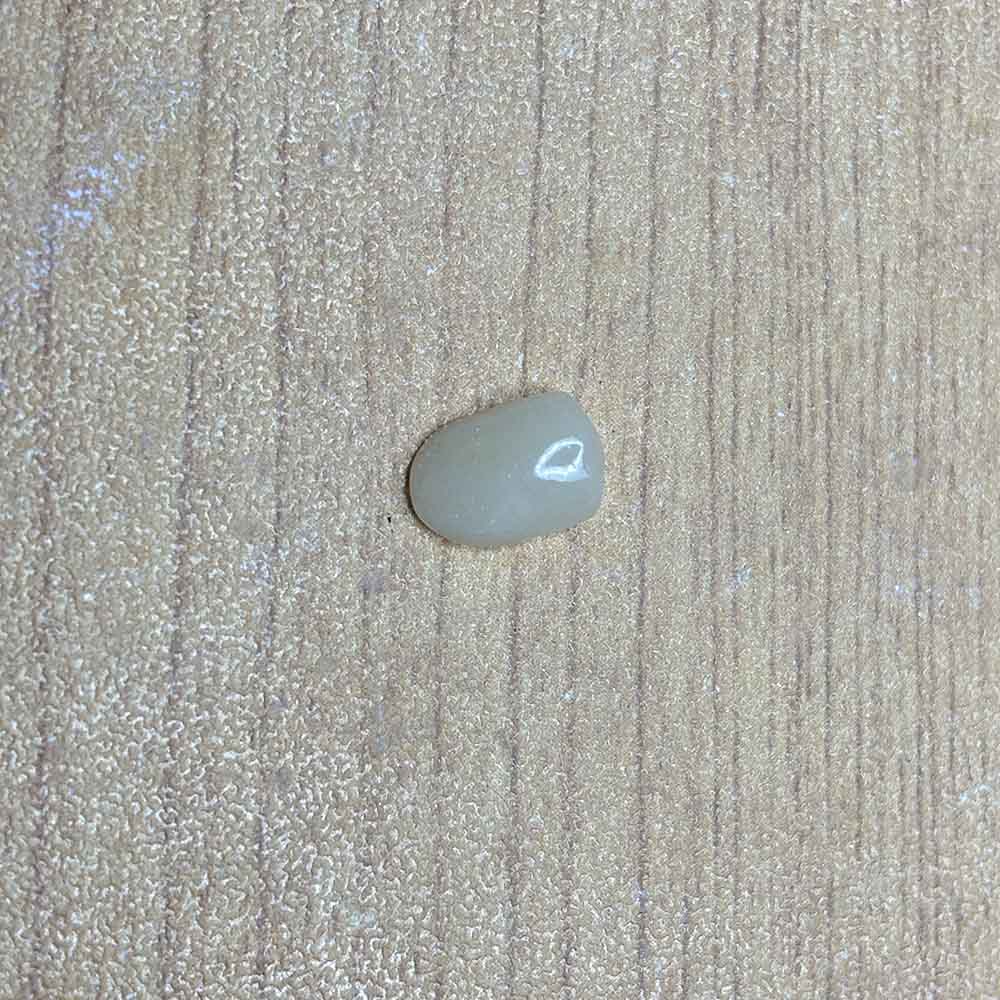
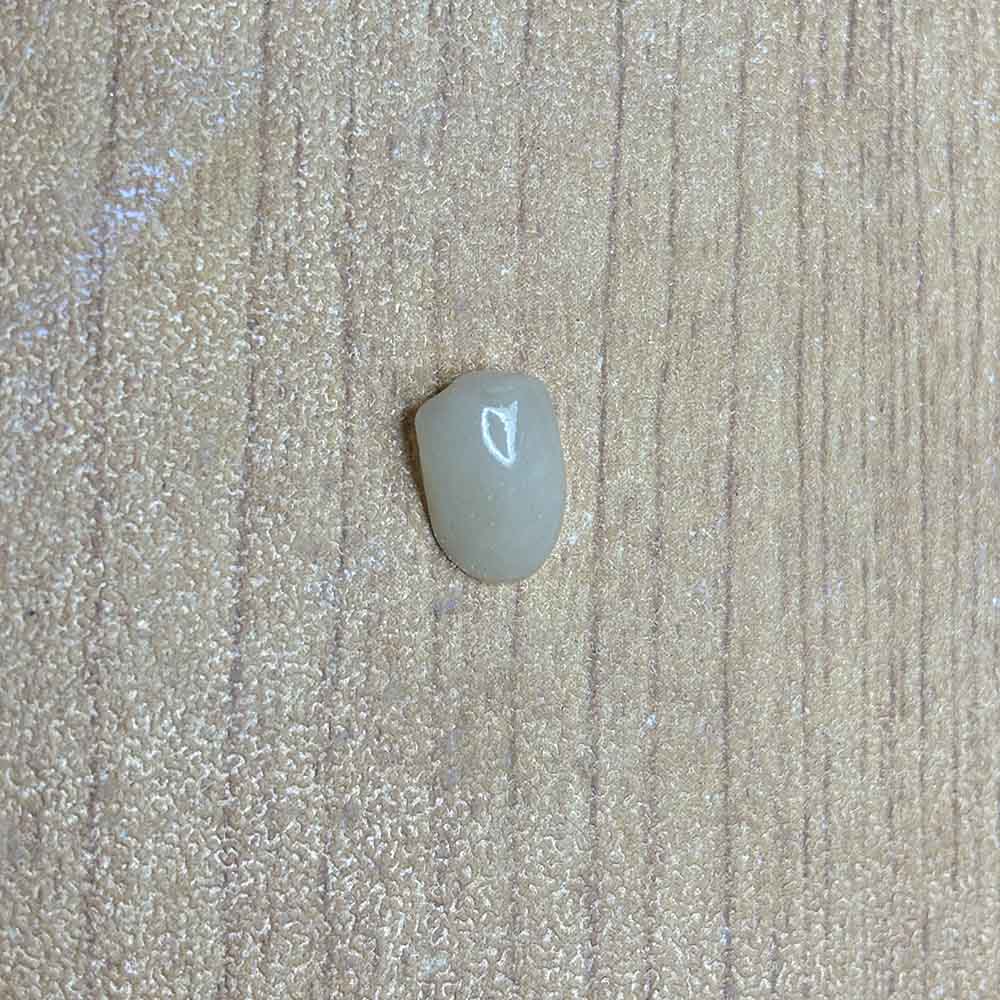
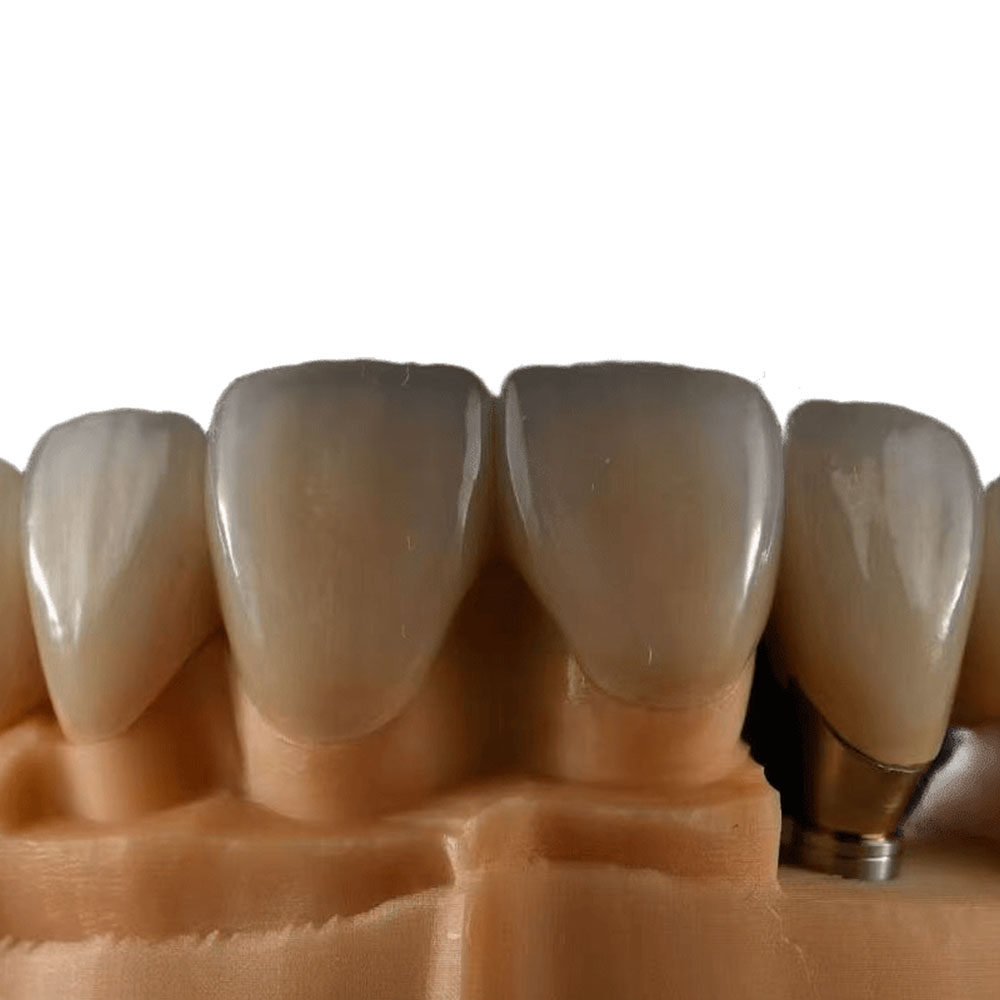
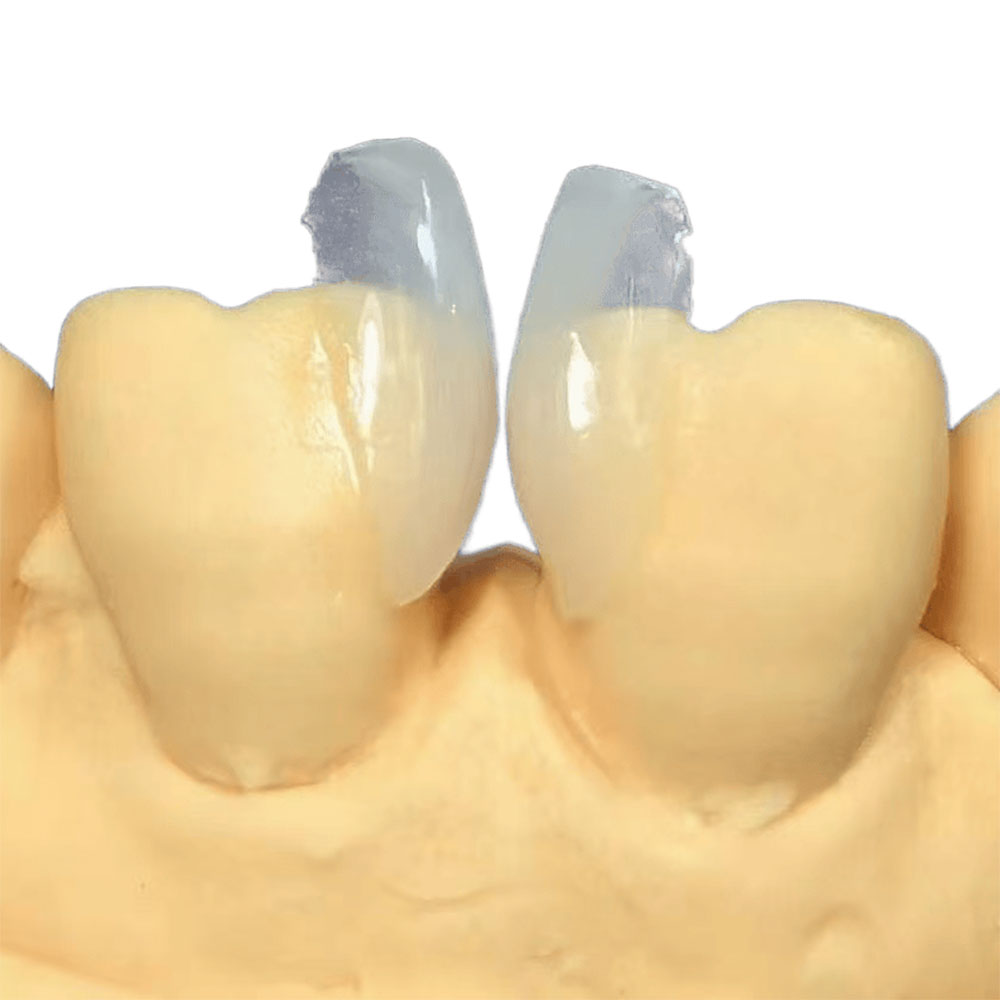
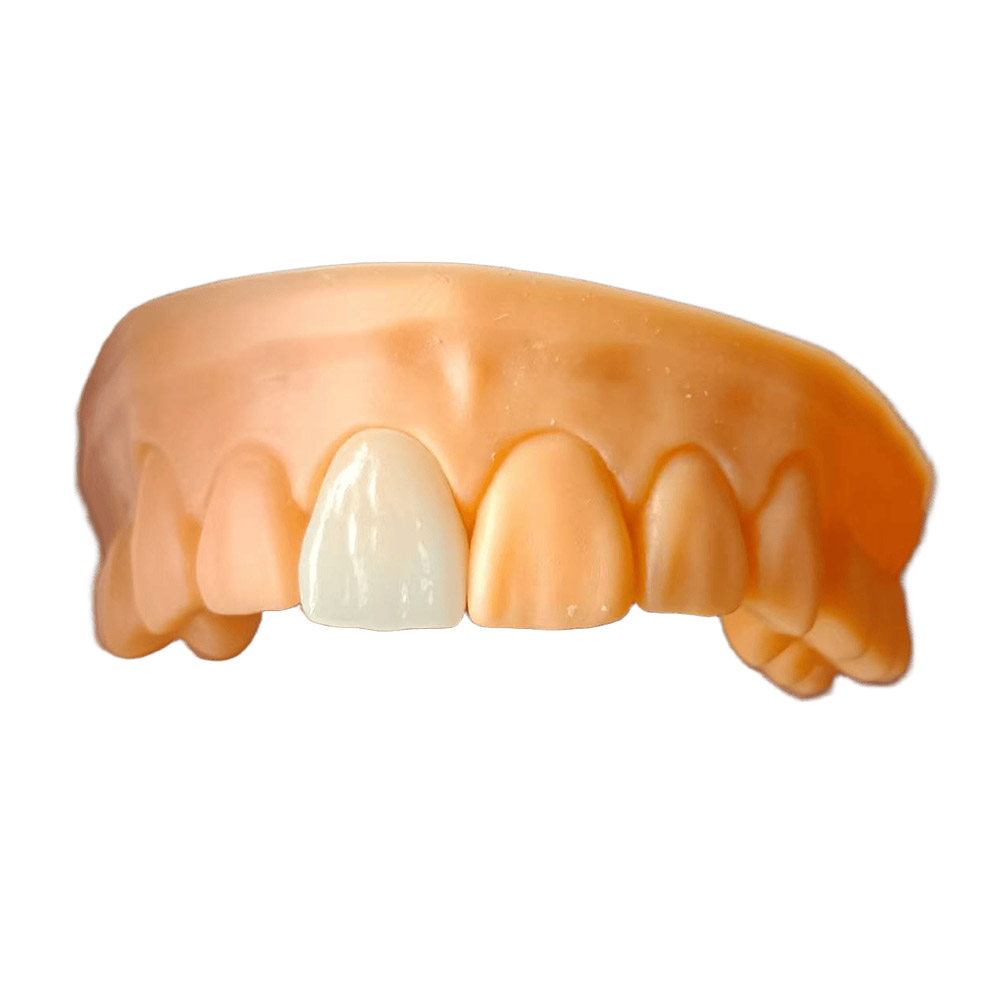
Options
| E.max veneers | Lithium disilicate - strength plus translucency; the default for most cases. |
|---|---|
| Feldspathic veneers | Maximum aesthetic subtlety on well-prepared enamel. |
| Character replication | White spots, crack lines, translucency bands, mamelons and surface texture copied from references. |
| Planning stages | Diagnostic wax-up, mock-up or characterised PMMA provisional before final production. |
Specifications & industry guidance
| Parameter | Industry reference | Notes |
|---|---|---|
| Material options | E.max (pressed or milled) · feldspathic porcelain | Composite veneers also available on request |
| Typical thickness | Feldspathic 0.3-0.5 mm · E.max 0.3-0.7 mm | Minimal-prep feasible within enamel |
| Prep depth (industry norm) | 0.3-0.7 mm facial reduction, confined to enamel | No-prep requires a full un-prepped scan |
| Cementation | Try-in paste shade check, then adhesive resin cement | Shade of cement shifts final value - plan in advance |
| Typical indications | Discolouration, shape/size correction, diastema closure, smile design | Case-by-case confirmation for severe malalignment |
Practical guidance for your prescriptions
- Always send the un-prepped scan together with the prepped one - the envelope between them defines the final contour.
- A wax-up or 2D smile design file lets us mill a mock-up the patient can evaluate before final work.
- Photograph with a shade tab in frame under daylight-balanced light; phone flash distorts value.
- Veneer cases benefit from a provisional stage: it tests contour and phonetics before bonding.
Reference figures are widely accepted industry values for the material/system class - case-specific parameters are confirmed at design. Reviewed by the Istar case coordination team.
Indications & limits
Shade communication quality determines the outcome: photos taken under warm indoor light without a reference tab cannot be used for a guaranteed match - they will be confirmed back as an assumption.
For multi-unit smile cases we strongly recommend the wax-up/mock-up stage so the patient approves shape before porcelain is layered; skipping it is possible, at your documented request.
What to submit with your case
- Photos: frontal smile, retracted view, close-up of the target teeth - all with a VITA tab in frame, daylight preferred
- Study models or scans of both arches
- Target shade (tab reference) and notes on what the patient likes/dislikes
- Wax-up or digital design if one exists - we can work from your file
- Bite registration for cases affecting anterior guidance
How the case is made & checked
Single-veneer and multi-unit cases are inspected against the reference photos, not just the prescription: shade, value and character are compared under standardised light by a technician who did not make the case.
Production time & shipping
Veneers are produced with the ceramic department's schedule - routine single units on the standard workflow, multi-unit aesthetic cases with a confirmed plan at acceptance. Photo review and shade confirmation happen at intake, before the production clock starts.
Real cases
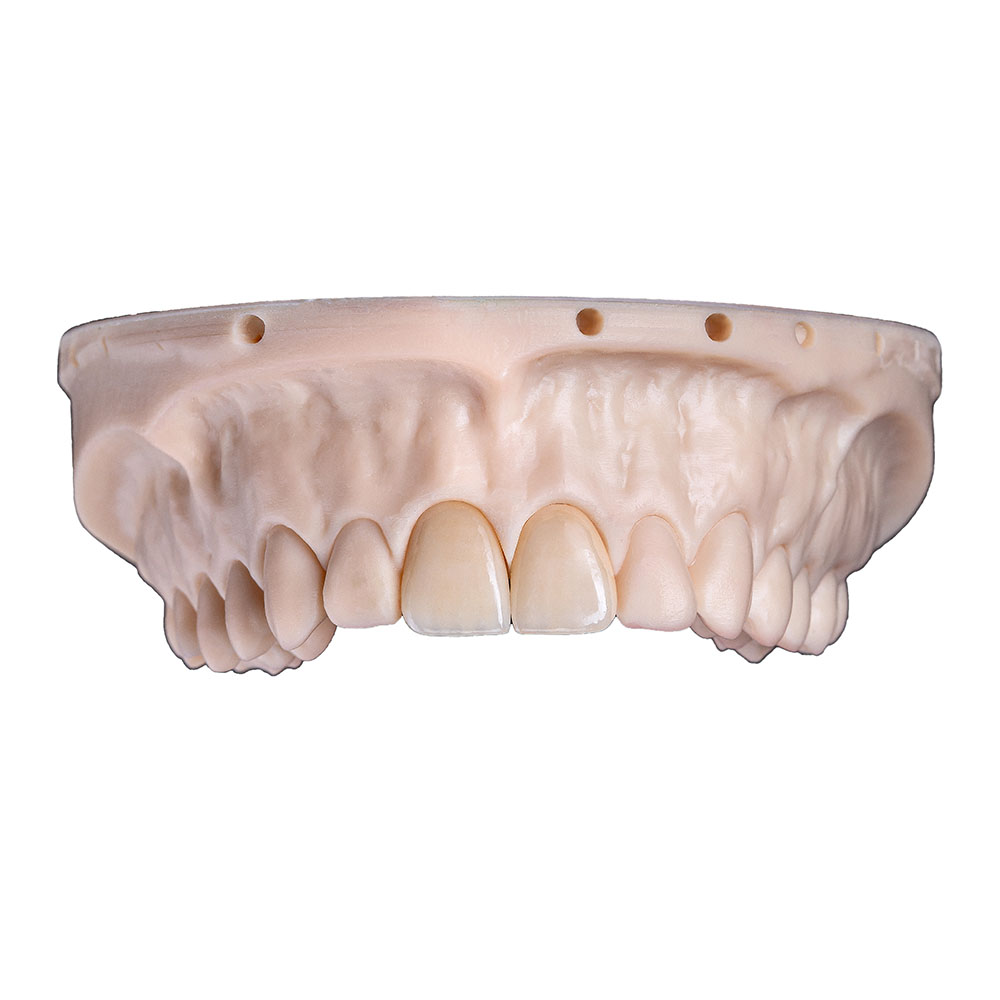
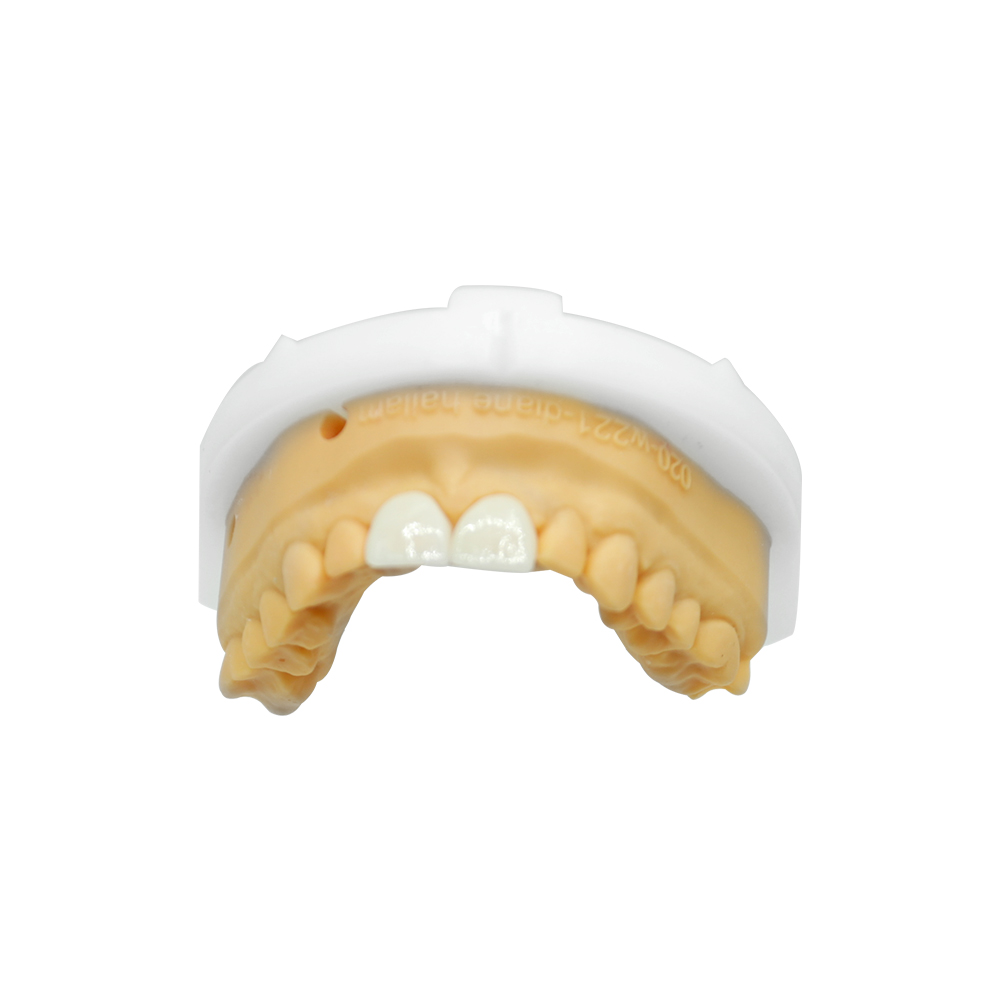
Six-unit anterior veneer case with photo-based shade communication
A European clinic outsourced a six-unit case. Communication ran on retracted photos with tabs, two approval rounds on the wax-up, and a stained try-in stage. The final veneers shipped with comparison photos against the client's tab; the case was accepted without a remake.
Pricing & fees
Priced per unit by material; the wax-up and provisional stages are quoted as separate line items so you can choose the depth of planning. All fees are confirmed before production; freight and duties are separate.
If something goes wrong
Laboratory-side remakes are covered free of charge - see the full remake & warranty policy. Every remake starts with a root-cause analysis you are part of.
Frequently asked questions
How do we communicate the shade for a single central?
Can you work from our own digital wax-up?
Should I choose E.max or feldspathic veneers?
Can you make minimal-prep or no-prep veneers?
What shade and character information do you need?
Do you provide a try-in stage for veneer cases?
Ready to send your first case?
Request the price list or tell us about your first case - a named coordinator replies with the next step, not a sales script.
Get QuoteStart Your First Case